‘Automation’ Archive

Hidden Library Projector Screen February 20, 2013 6 Comments

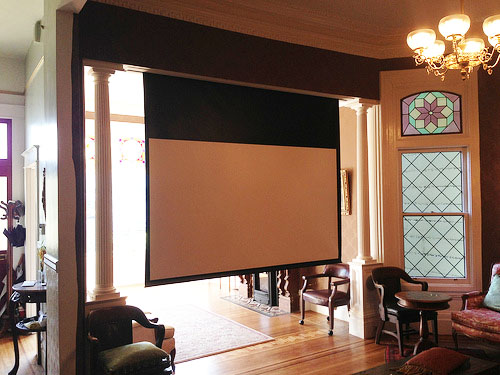
projector screen down

It’s been a lifelong dream of mine to have a home theater. The only problem is, who has space for an entire room dedicated to a home theater? Rather than create rooms with only one purpose, we build ours to entertain. This creates some really fun challenges. Above you can see the projector screen fully installed and lowered. I purchased the screen from Monoprice at a pretty good rate.

Below you can see what the room looks like with the screen retracted. Surprisingly, we’ve only had a few people notice it.

hidden library projector screen

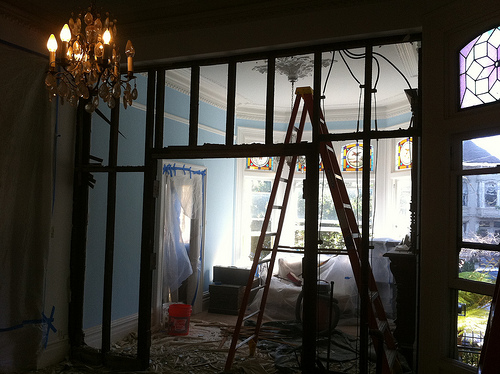
But first, we had to knock down a wall before we began. This wall was put up sometime after the house was built and had a tiny french door. This created a cramped space with very little light. As you can see below, the room is beginning to open up.

taking down the wall for the projector screen

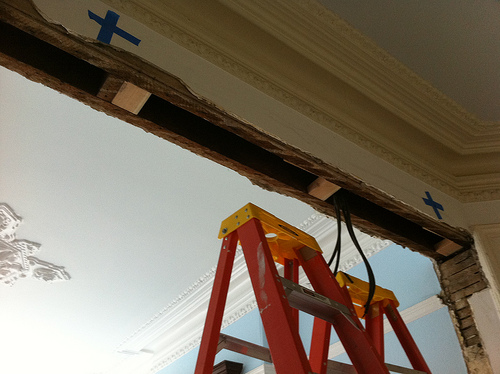
Once the wall was down we had to clean up the openings. We had wires running everywhere and even a few old gas pipes. After removing everything we built a soffit out of 2×4′s to house the screen and be bolted to the header.

preparing for the projector screen soffit

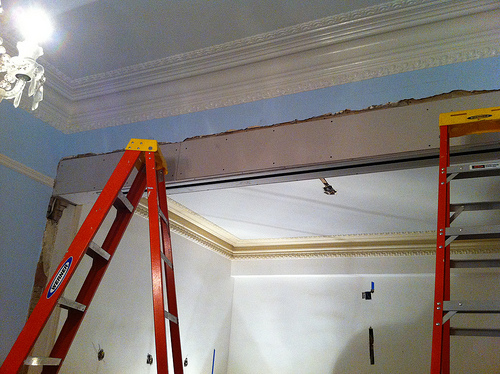
Once the soffit was done we screwed it to the opening and made sure it was level. We also test fitted the screen just to be sure that everything worked as planned. Then we took 1/4″ sheetrock and covered the soffit in preparation for plaster and wallpaper.

finishing up soffit for projector screen

Here’s a quick video of us testing the operation of the screen. Here you can also get a better look at the soffit.

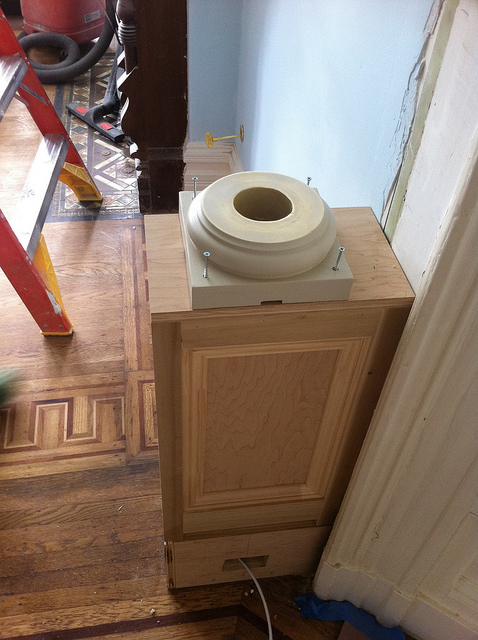
As we had prepared for, the original header that we screwed the soffit to was not level; however, the screen had to be in order to operate properly. We ended up creating boxes and columns on the sides of opening anyway, we just made one an inch taller than the other. The beautiful thing is that they are so far apart that no one notices. This is one of those visual tricks that you need to use when your house is 100+ years old.

column boxes for projector screen

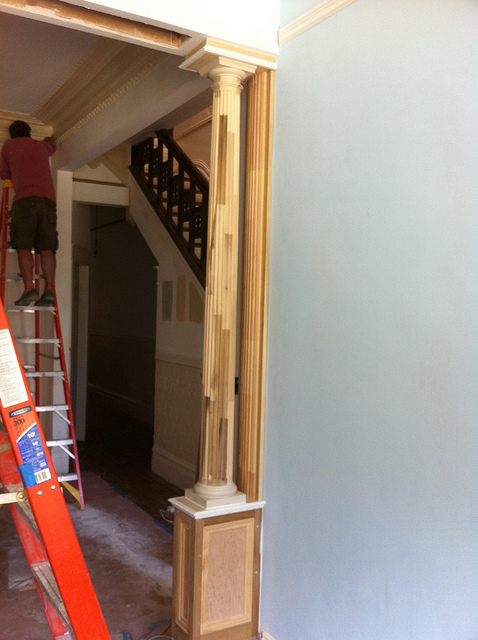
The columns are finger jointed poplar that I ordered from Pacific Columns. They came with proper instructions and were simple to put together. The hard pat for us was lining everything up with plumb bobs and measuring many times.

columns for projector screen installed

Voila! A small amount of work and a bunch of ingenuity made this a simple project. Not many people ever notice the screen and the columns really dress up the room and let in more light. Also, if you look closely at the photo below, you’ll see we built in speakers as well just to clear up floor space.

hidden project screen installed

If you’d like to see more photos of the build, check out the Projector Screen photo set on Flickr.
Wiring For High Speed Ethernet March 5, 2009 1 Comment

Lets face it, wireless just isn’t going to cut it for a large house with many computers and devices on it. I still to this day have friends asking me why hardwire anymore? Some of them adamantly oppose my preference for copper for reasons unbeknownst to me. Being a software engineer and avid geek I have a great deal of experience with enterprise systems. Although all companies structure their data centers differently there is one thing they all have in common, copper. In order to hit high speeds reliably you must have a direct connection the switch or router. A house with many devices is no different.

Here is a perfect example of why I am hard wiring as many things as I can, leaving the wireless to just the peripherals. My housemate and I stream music wirelessly to other rooms from one central machine. The music is stored on the network via NAS (network attached storage). When we are playing music from our main iTunes machine, the music must be pulled from the NAS via wifi to the machine, then back out to the wireless access point, then out to its final destination. That is a lot of network hops over the airwaves! Now start adding other devices like iPhones or laptops and your music starts skipping and some devices start getting kicked off the network. The problem multiplies when you are streaming video from room to room and doing multiple things at one time. Its an all around bad scene and an annoyance. Enter gigabit ethernet via Cat 6!

Switching to this system we have permanently eliminated this issue, creating speeds that are literally 10 times faster than even 802.11n. In my experience, N is not that fast and progressively gets worse the farther you travel from your access point. Then add 10 other hungry devices on the same access point and your out of luck. Reliability is gone. Hardwiring as many devices as you can frees up your WiFi for the devices that actually need them, PDA’s and laptops.

So, now I have hopefully explained myself enough, onto the actual work! I am not going to give a tutorial on how to run wires, just point out a few tips and tricks I encountered along the way. First and foremost, run more wires than you need! You never know what the future holds and how technology is going to change. Now a days you can run everything from video to home phone over Ethernet cable.

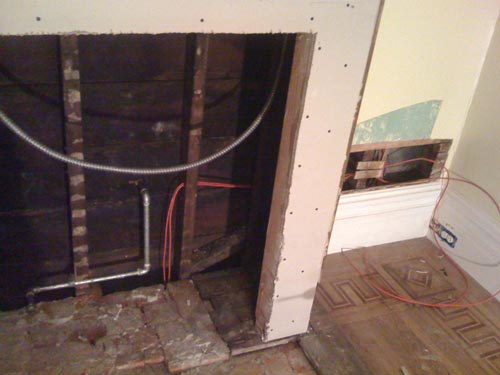
Second, and almost as important as the first, any open wall is an opportunity! Case in point, the new fireplaces that are being installed gave me ample room to run two new pieces of Cat 6 to the living room.

In other cases, I have also run cabling outside along with the coax cable for television. That being said, Ethernet cable does not like the sun and will crack over time. Water should be okay but time will tell. At least its not buried in a wall that I will never want to open again.

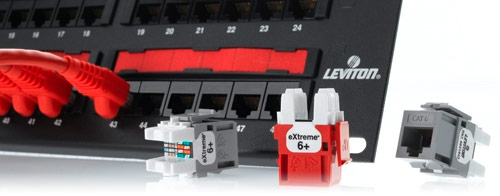
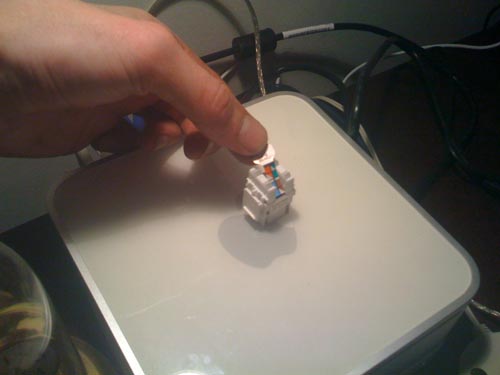
To make the installation look neat and professional go down to the Home Depot and get yourself some nice wall plates and Ethernet jacks from Leviton. They aren’t too expensive and give a nice finished look. They are also easy to install and directions come with every port, along with a little tool that helps you punch the wires down tight. One thing the directions don’t tell you is which wiring schema to use! This confused more for a second there until I realized on the back of the port you could peel off the T568B wiring layout to reveal the T568A layout. See the picture below.

Other than that there were really no surprises. The job went quite quickly and the results were immediate. My favorite type of results! Our network is blazingly fast, more reliable, and our access point seems to be happier and faster because of it. Thank you good old copper!