Posts Tagged ‘Dining Room’

Dining Room Hutch Finished October 7, 2012 2 Comments

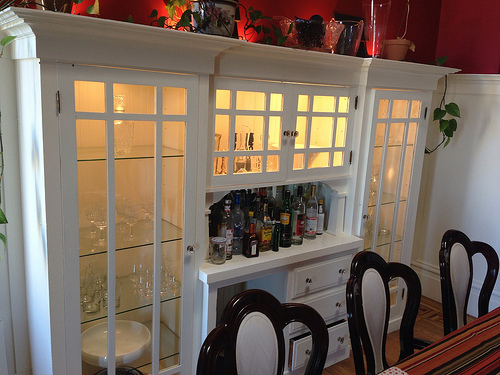
Four years ago we started the dinning room project but it wasn’t until recently that we finally installed the glass shelving. We went with glass because it allows the light to illuminate everything and not just the top shelf. The lighting is standard 12v AC lighting ‘pucks’ you can get at any Home Depot, Target, or Bed Bath and Beyond. The shelves were about $200 dollars in total and are a 1/4″ thick.

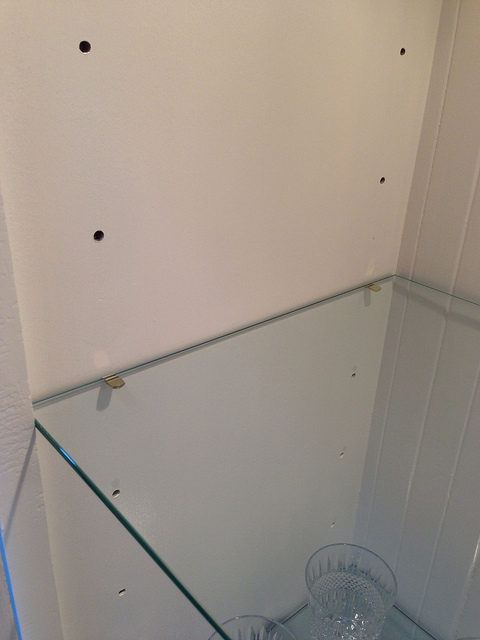
Below you can see the adjustable shelving holes. We own a jig for this purpose, but you can easily make one yourself or just measure twice and drill once.

This is a very simple project and any do-it-yourselfer can tackle it. One piece of advice, use wood to make a template for the glass cutter rather than cardboard. Its easier for you to test fitment and its a better for them to cut from.

For more photos of this project and others, check out the dinning room photo set on Flickr.
Create A Lightbox In A Skylight May 13, 2009 2 Comments

Light box in the skylight

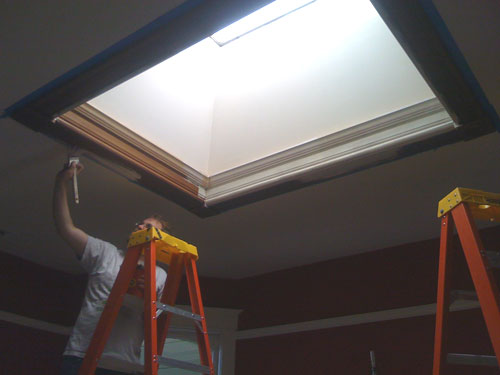
A simple way to add drama to a room is to add some indirect accent lighting. We had held off on painting the skylight box just for this reason. Once the wiring was all done, it was time to buy some rope light and crown molding.

The goal is to add another layer of molding in the skylight box and hide the rope light behind that, providing and indirect glow from the skylight. This project is really quite simple and the only tricky part is getting the crown molding just right. Most miter saws actually have the proper angles and dimensions written on them. If not, there are plenty of videos and how-to’s on the web.

Really, there’s not much more to it than cutting four pieces of molding, adding a rope light, some paint, and voila! Instant depth and drama to an otherwise boring part of the room. All in all, the project only takes a few hours, minus dry times between paint.

Updating the Craftsman Dining Room October 28, 2008 1 Comment

Craftsman dining room in a Victorian house

When we moved in, we immediately started figuring out our order operations; what was most important to us. It turned out to be a nice living area, a place to eat, and a kitchen. That being said, our kitchen was done, we had a temporary living room downstairs, so it was off to the dining room. My housemate loves to cook and I love to entertain so the dining room seemed to be a logical choice.

What a choice that turned out to be! At first glance, we thought we may keep the wood as is, just sand and refinish. Upon further inspection, the wood was cheap plywood and it had been glazed over numerous times. Even if we wanted to refinish it, that cheap plywood would still show through. So, we decided to paint.

After days and days of sanding and scraping off the old glaze it was finally time for a primer. We went with an oil based primer to bond with the oil based glaze that we had scuffed and sanded to create mechanical bond. That in itself was a daunting task. The stuff goes on thick but it was worth it. After a thick coat of primer applied a latex final coat of white. Well, three coats to be exact. We really wanted a deep rich white and that’s what it takes. Many many coats.

The same holds true for the wall color that we chose. It is Behr’s “Old Flame”. It came out beautifully but took numerous coats. If out anyone knows anything about painting red it can be a royal pain. If you’re going to embark on this journey, don’t lie to yourself. It will take a minimum of three coats end of story. Brace yourself. In our case, it took four! But as you can from the results, its totally worth it.

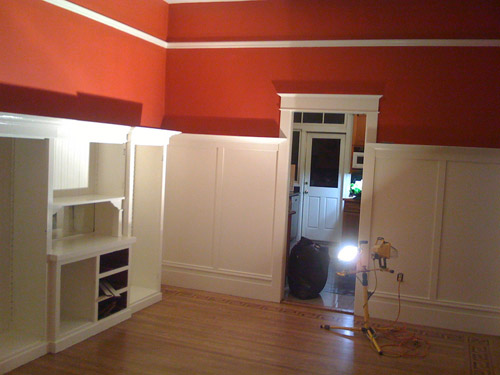
Photos of the dining room during reconstruction