‘Restoration’ Archive

Dining Room Hutch Finished October 7, 2012 2 Comments

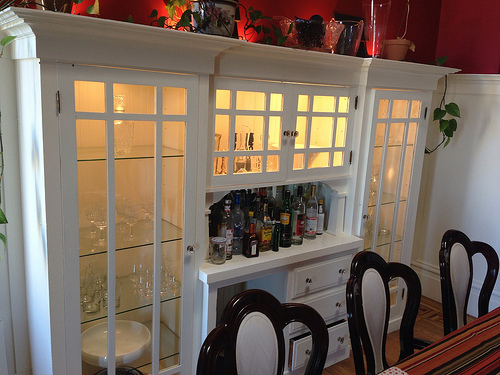
Four years ago we started the dinning room project but it wasn’t until recently that we finally installed the glass shelving. We went with glass because it allows the light to illuminate everything and not just the top shelf. The lighting is standard 12v AC lighting ‘pucks’ you can get at any Home Depot, Target, or Bed Bath and Beyond. The shelves were about $200 dollars in total and are a 1/4″ thick.

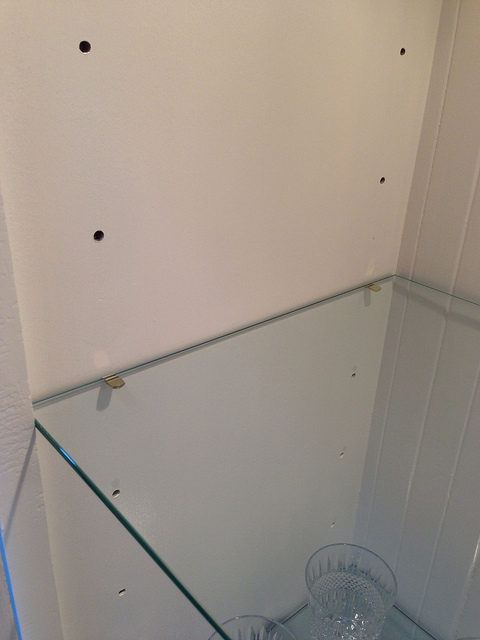
Below you can see the adjustable shelving holes. We own a jig for this purpose, but you can easily make one yourself or just measure twice and drill once.

This is a very simple project and any do-it-yourselfer can tackle it. One piece of advice, use wood to make a template for the glass cutter rather than cardboard. Its easier for you to test fitment and its a better for them to cut from.

For more photos of this project and others, check out the dinning room photo set on Flickr.
Custom Double Hung Window Replacement July 19, 2012 12 Comments

If your home is anywhere near as old as mine you know that windows are the biggest factor in energy loss. In the summer they let in heat and too much UV light and in the winter they let out heat and in cold air. The easiest way to remedy the problem is to have custom windows and sashes made from someone like Marvin, Anderson, or Pella which means the old weights are being removed as well as the old sash. This isn’t very traditional and does change the look drastically on both the inside and the outside of the house.

Instead of changing the look I found another custom solution that blended the best of both worlds. The Wood Window Warehouse in Emeryville, CA specializes in making old style windows with modern technology. They use traditional joinery and old style methods of creating double hung weighted windows with two panes of gas filled with gas with a low-e coating to keep out UV light. They also add weather stripping all around for nice tight fit.

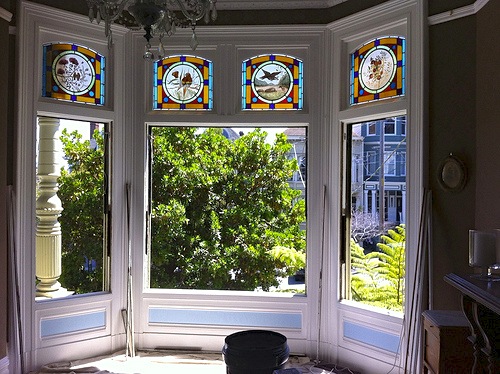
Below is a photo of the windows removed.

Old double hung windows removed

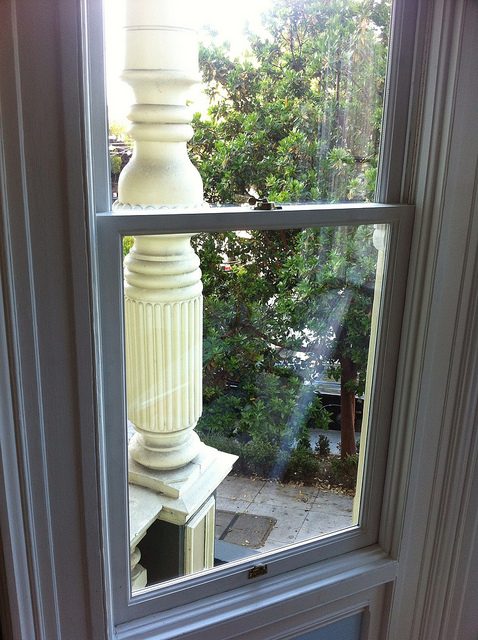
Below you can see a close up of one of the new windows. We attached our original hardware and you can barely tell the difference. The craftsmanship is superb and the room is already feeling less drafty. It is also protecting our beautiful damask wallpaper from fading.

New Double Hung Windows Installed

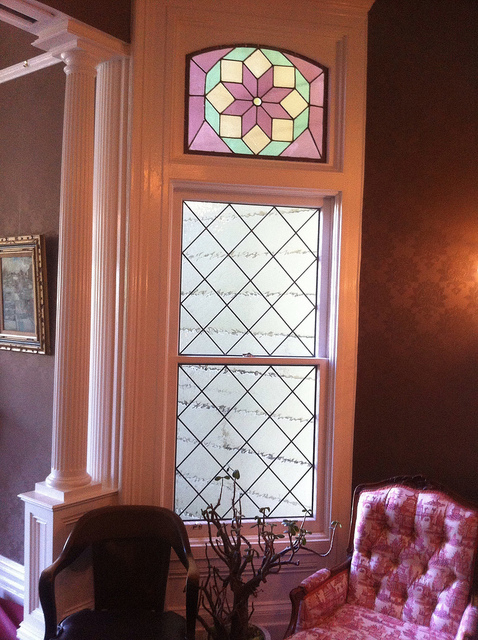
While we were having the windows replaced in the front parlor we also decided to have a leaded glass window made for the library. The view out the window looks down the tradesmen entrance so translucent glass was a perfect choice to mask the ugly view. The leaded glass also plays nicely on the original leaded stained glass above and helps to complete this part of the library.

Leaded Double Hung Window Replacement

All in all the project was as easy as picking up the phone and ordering. Unfortunately these windows don’t come cheap but its the price you have to pay to keep the house traditional.

Working Toward A Milestone December 20, 2011 1 Comment

Setting milestones for projects is a highly effective motivator. I do this at my software startups, personal projects, and of course our house restoration. Figure out what motivates you to complete your projects and use that to help you accomplished your goals. For us, we use parties. We love having our friends over and sharing what we have built. We’ve been successfully running most of our big projects like this for years. We find that if we don’t have a goal to work toward its easy to drag your feet and find yourself saying, “I’ll get to it next weekend”.

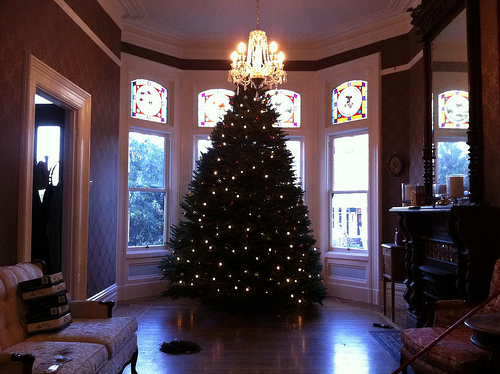
Our most recent milestone was getting the house decorated for our annual Christmas party. We drape the house in icicle lights, poinsettias, and top it all off with an 11 foot tree. Then we invite over a hundred of our friends and enjoy the holidays together. Thanks to all who came to make it the best Christmas party we’ve ever had. It was such a great time that I’ll be even more motivated to do it again next year. Happy New Year!

Repairing Plaster Crown Molding November 1, 2011 2 Comments

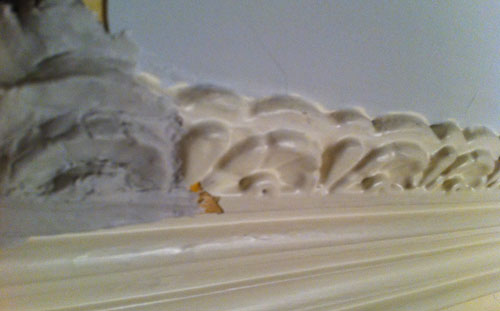
Recreating crown molding with clay

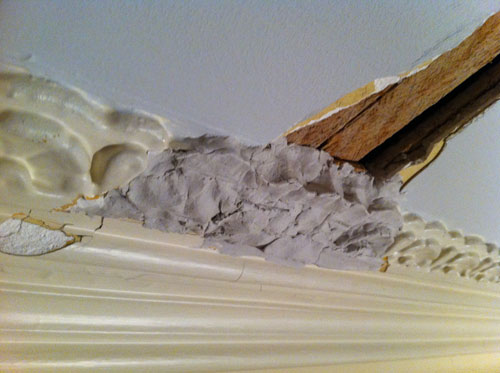
If you’re saying to yourself “that doesn’t look like plaster”, then you’re right. Its air dry clay that I bought from the art supply store. Long story short, while we were rewiring our overhead chandelier some of the molding got damaged. I opted for the do it yourself solution and called over my friend, neighbor, and founder of my company Adam Sah. In a past life he was a stone carver and his help was invaluable on this project.

We had two other options that we examined before tackling this project. The first involved calling in a expert. That we ruled that out because it was such a small job and seemed silly to waste the money. The second involved taking a cast of the undamaged molding and have it recreated in plaster. That too seemed like a waste considering how small of a section we needed.

This project was pretty straightforward, for me anyway. I sat back while Adam took about 20 minutes of his time to recreate the original to the best of his abilities. After a day of drying I filled in any irregularities with painters caulk and then primed it before paint.

Repairing Victorian Crown Molding

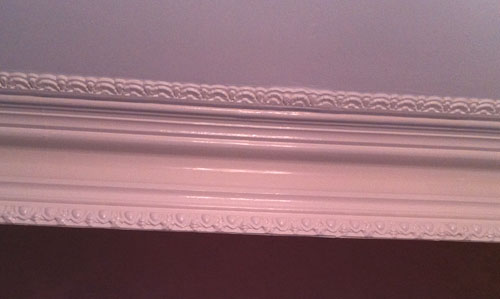
Below is a photo of everything complete. From the ground 12 feet below you can hardly even tell there was any work done. It only costed a few dollars and saved us a lot of effort as well. Often times I find it harder to manage a contractor than just doing it yourself, especially for a job of this size.

Victorian Molding Repaired

For more photos, see the repairing victorian crown molding photo set on Flickr.
Victorian Library Complete August 28, 2011 12 Comments

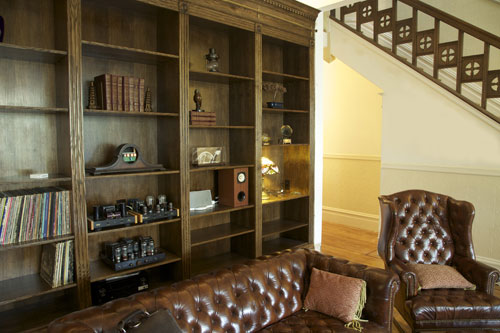
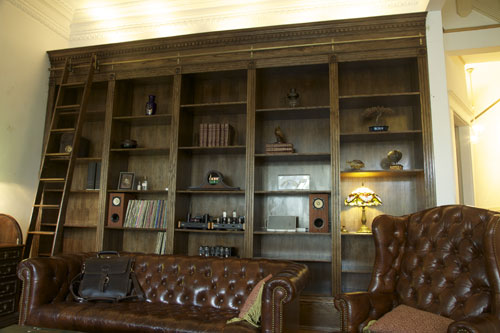
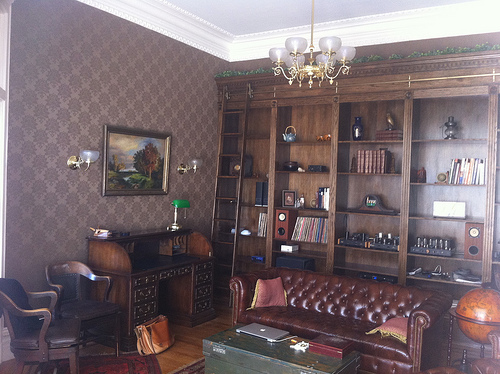
Victorian Library

After nine straight days of work the library is finally complete. We haven’t yet found a chandelier or sourced the wallpaper but that didn’t stop us from inviting our friends over and celebrating. For the first time we could sit back and actually see and enjoy what we had built. It’s been an incredible project and I couldn’t be happier with the results. Thanks dad for showing me how to do it right.

As promised, I have enlisted the help of a real photographer to take some proper photos. Thanks Dean Putney for your help. Once the wallpaper and lighting is done I will add more pictures.

Victorian Library

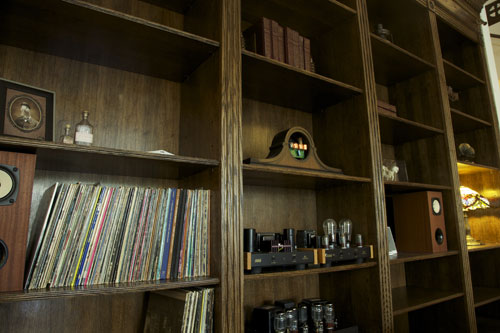
Victorian Library Shelves

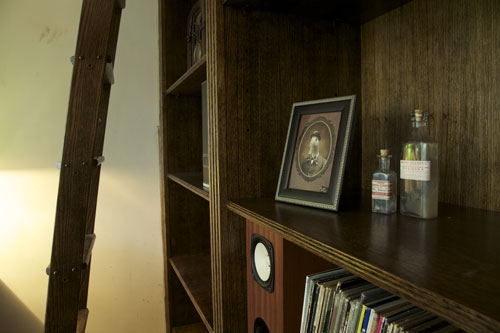
Victorian Library Nick Nacks

Update [9/21/2011]: Wallpaper, chandelier, and other finishing touches

After weeks of searching for wallpaper we finally settled on this beautiful fabric-on-paper chocolate damask from Dhongia. We hired Victorian wallpaper expert Marc Vallat as our hanger and he did a spectacular job. You can barely see the seams even up close. The chandelier and sconces we got from Victorian Lighting Works in Pennsylvania and they are stunning reproductions with matching French glass shades.

Victorian Library Wallpaper and Chandelier

To see the history of the entire project and the writeup checkout the victorian library build. You can also the photo history in the slideshow below. Once you click the play button, you can use your arrow keys to navigate through.

Victorian Library Build Day Seven August 26, 2011 1 Comment

Polyurethane on the library cabinets

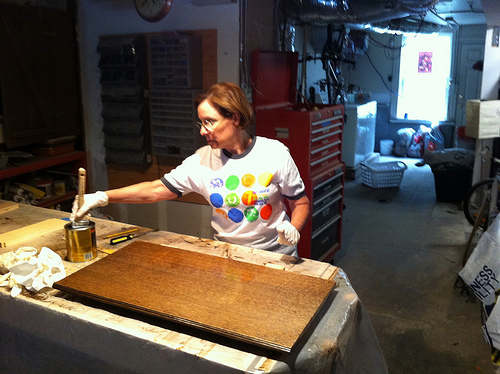
Now that everything is clean, stained, sealed, and sanded, we are putting on the final two coats of Polyurethane. This is a long and tedious process but we can finally see the end result. This is also a good time to call in some favors and get help from your friends. I even enlisted the help of my mother. Thanks mom!

Mom staining shelves

Today should be the last day of work on the project then we will clean up and take some proper pictures. For now, visit the Victorian Library photo set on Flickr.
Victorian Library Build Day Six August 24, 2011 1 Comment

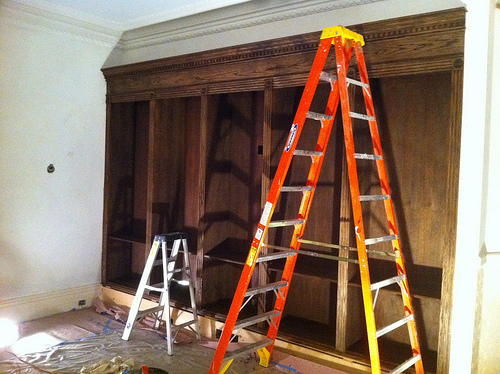
Victorian Library Oak Stained with Minwax Jacobean

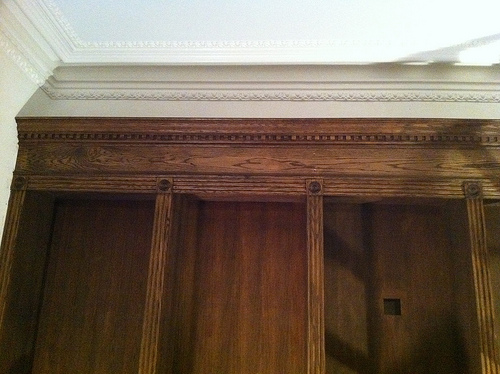
After five days of woodwork we finally stained the cabinetry today. We also stained all 32 shelves and put a coat of sealer on them. We are using Minwax Jacobean stain which looks like a dark walnut. It matches quite nicely to the oak banister we built last summer as well as the fireplace in the attached parlor.

I promise to take better pictures, not from my iPhone, when we’re done.
Cabinetry Stained

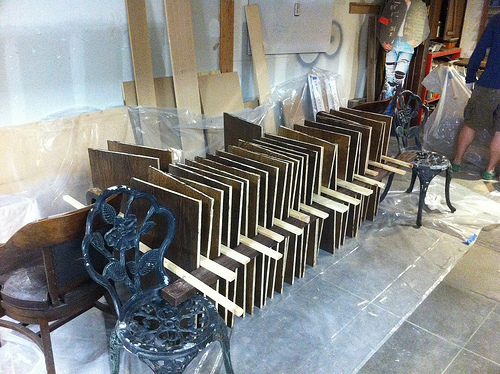
Below you can see a makeshift rack I built out of spare wood we had from the project. Considering how many shelves we have and how many steps we have, a rack will allow us to do them all at once and let them dry. Other techniques involve using eye hooks to hang them from the ceiling but this seemed easier.

Rack for shelves to dry

Victorian Library Build Day Five No Comments

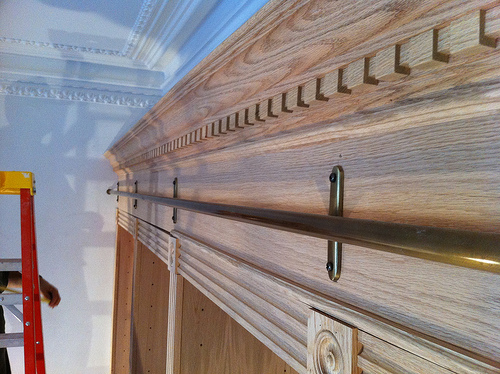
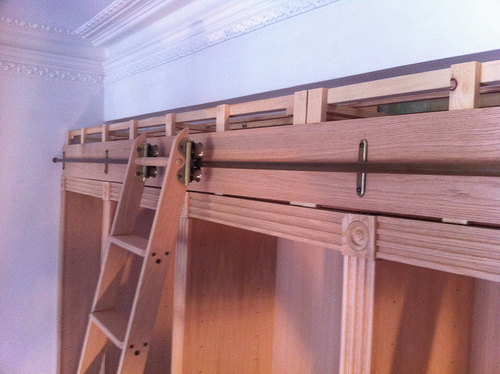
Library Ladder And Track

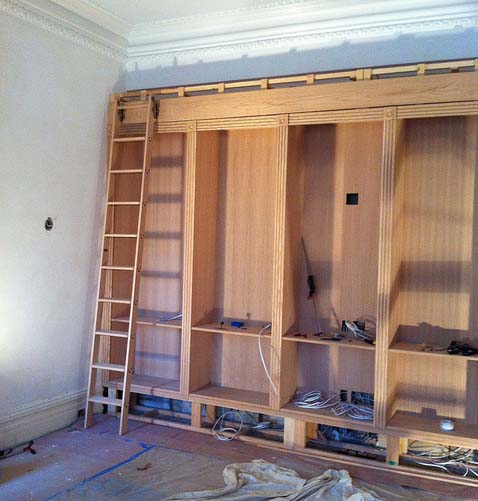
Our entire day was devoted to fitting the ladder, track, and head piece. This proved to be challenging due to the nature of an un-square house and un-level floor. First we had to build up a support structure to allow us to nail the head piece in. Then we had to assemble the ladder in order to find out if there was enough clearance for it to clear the head piece in its away position. Once we got everything just right we could screw the track to the cabinets.

Fitting Victorian Library Ladder to Cabinets

After that long day was over, we stained 32 shelves Minwax Jacobean brown until the wee hours of the night. Day six will be focused solely on staining the rest of the cabinets so stay tuned for finished more pictures. For now, visit the Victorian Library photo set on Flickr.
Victorian Library Build Day Four August 23, 2011 No Comments

Victorian Library Bookcase Faces

Today we tackled the finish work of completing the base molding, crown, and front faces. This is where all of your efforts will become apparently clear. What I mean is, all the effort you put into squaring everything up is thwarted by the fact that your 120 year old house is far from square. Not a problem however, everything lines up very well and moldings cover your slight imperfections.

Below you can see the ladder being fitted. We need to get this just right so that when the ladder folds up against the cabinets it won’t hit the head piece. I’ll explain more about the ladder setup and hardware when I have pictures.

Fitting Ladder Against The Library

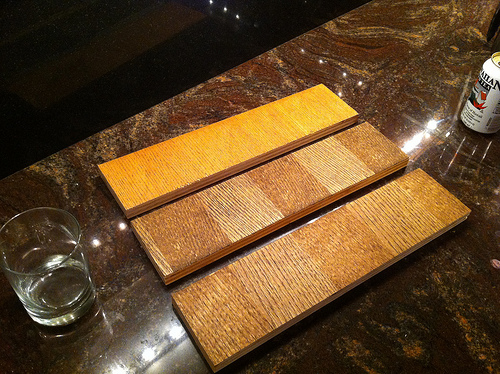
Below you can see some of the samples we picked out. I’m pretty sure we are going to go with the middle one, Jacobean from Minwax. It should go nicely will the dark banister we have and the wallpaper we are planning.

Oak Color Samples

For more photo’s visit the Victorian Library photo set on Flickr.
Victorian Library Build Day Three August 22, 2011 No Comments

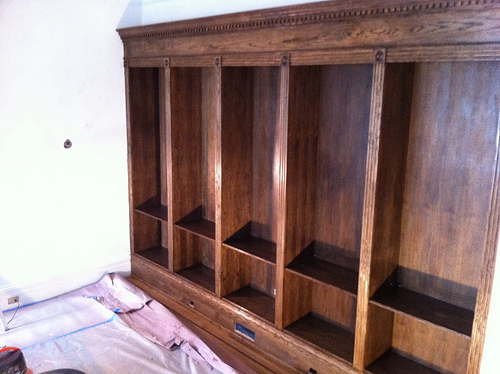
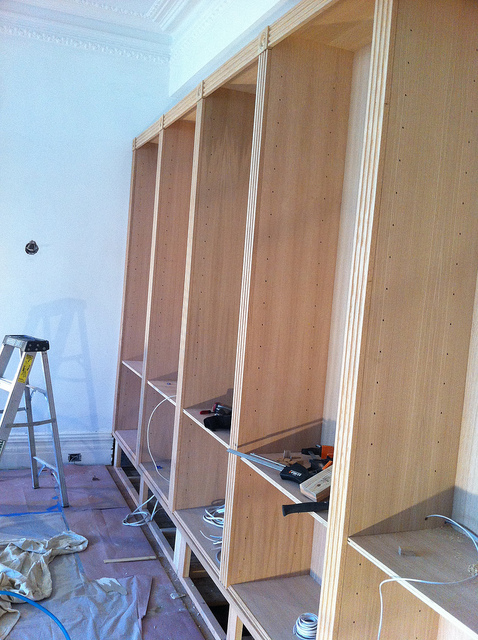
Library Bookcases Done

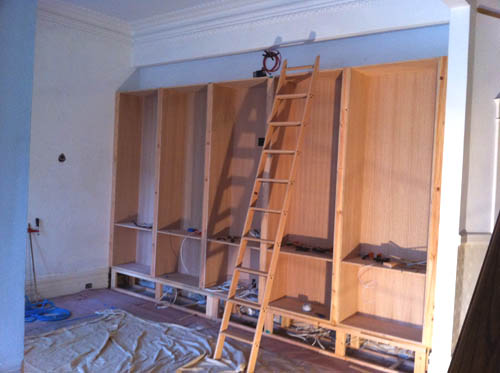
At the close of day three we have all the bookcases plum, level, and installed. Next up is all the finished trim for the face frames, base, and head piece. More photos to come as the day progresses but for now I need to get off the computer and back to work!

For more photo’s visit the Victorian Library photo set on Flickr.