Posts Tagged ‘Library’

Hidden Library Projector Screen February 20, 2013 6 Comments

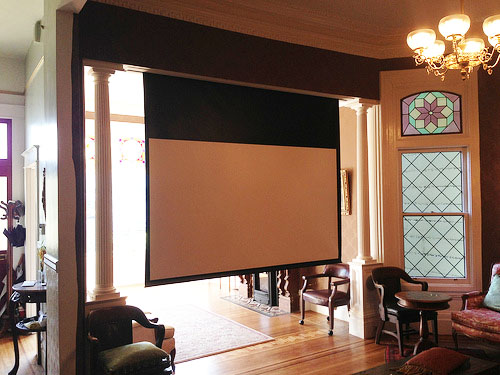
projector screen down

It’s been a lifelong dream of mine to have a home theater. The only problem is, who has space for an entire room dedicated to a home theater? Rather than create rooms with only one purpose, we build ours to entertain. This creates some really fun challenges. Above you can see the projector screen fully installed and lowered. I purchased the screen from Monoprice at a pretty good rate.

Below you can see what the room looks like with the screen retracted. Surprisingly, we’ve only had a few people notice it.
hidden library projector screen

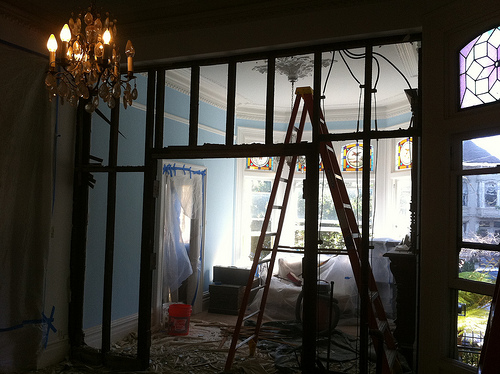
But first, we had to knock down a wall before we began. This wall was put up sometime after the house was built and had a tiny french door. This created a cramped space with very little light. As you can see below, the room is beginning to open up.

taking down the wall for the projector screen

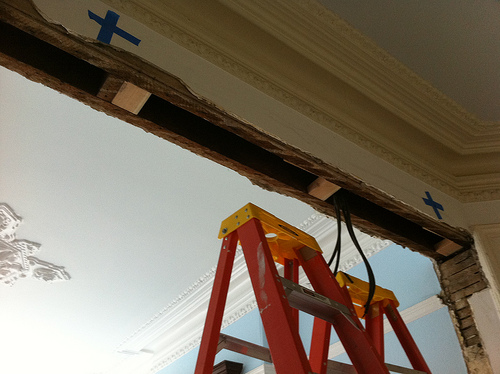
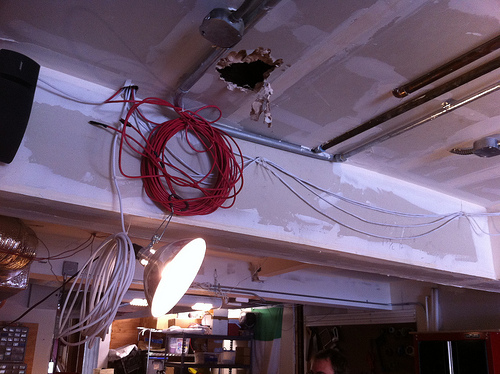
Once the wall was down we had to clean up the openings. We had wires running everywhere and even a few old gas pipes. After removing everything we built a soffit out of 2×4′s to house the screen and be bolted to the header.

preparing for the projector screen soffit

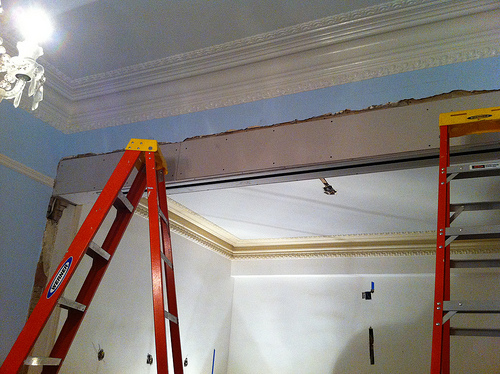
Once the soffit was done we screwed it to the opening and made sure it was level. We also test fitted the screen just to be sure that everything worked as planned. Then we took 1/4″ sheetrock and covered the soffit in preparation for plaster and wallpaper.

finishing up soffit for projector screen

Here’s a quick video of us testing the operation of the screen. Here you can also get a better look at the soffit.

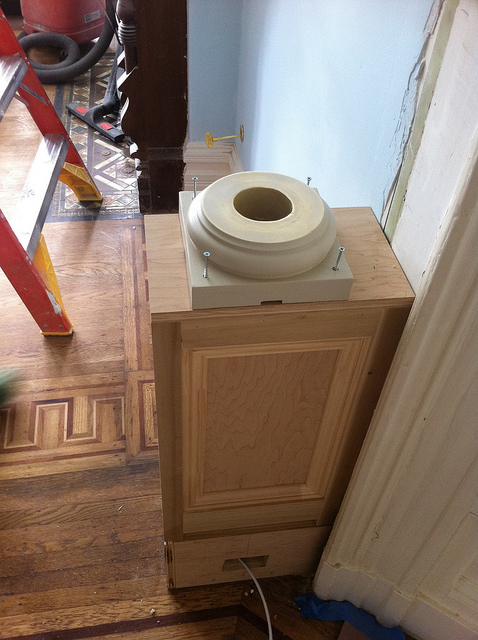
As we had prepared for, the original header that we screwed the soffit to was not level; however, the screen had to be in order to operate properly. We ended up creating boxes and columns on the sides of opening anyway, we just made one an inch taller than the other. The beautiful thing is that they are so far apart that no one notices. This is one of those visual tricks that you need to use when your house is 100+ years old.

column boxes for projector screen

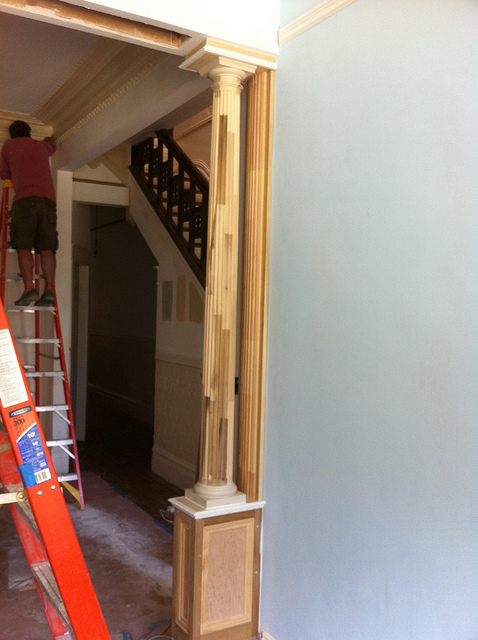
The columns are finger jointed poplar that I ordered from Pacific Columns. They came with proper instructions and were simple to put together. The hard pat for us was lining everything up with plumb bobs and measuring many times.

columns for projector screen installed

Voila! A small amount of work and a bunch of ingenuity made this a simple project. Not many people ever notice the screen and the columns really dress up the room and let in more light. Also, if you look closely at the photo below, you’ll see we built in speakers as well just to clear up floor space.

hidden project screen installed

If you’d like to see more photos of the build, check out the Projector Screen photo set on Flickr.
Custom Double Hung Window Replacement July 19, 2012 12 Comments

If your home is anywhere near as old as mine you know that windows are the biggest factor in energy loss. In the summer they let in heat and too much UV light and in the winter they let out heat and in cold air. The easiest way to remedy the problem is to have custom windows and sashes made from someone like Marvin, Anderson, or Pella which means the old weights are being removed as well as the old sash. This isn’t very traditional and does change the look drastically on both the inside and the outside of the house.

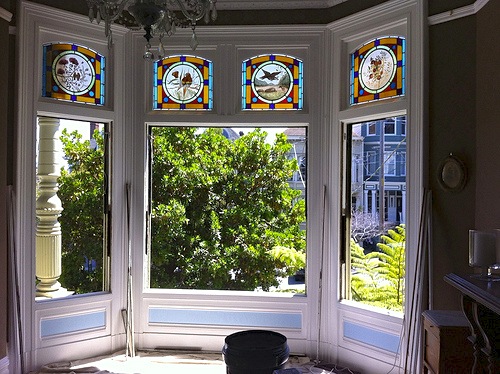
Instead of changing the look I found another custom solution that blended the best of both worlds. The Wood Window Warehouse in Emeryville, CA specializes in making old style windows with modern technology. They use traditional joinery and old style methods of creating double hung weighted windows with two panes of gas filled with gas with a low-e coating to keep out UV light. They also add weather stripping all around for nice tight fit.

Below is a photo of the windows removed.

Old double hung windows removed

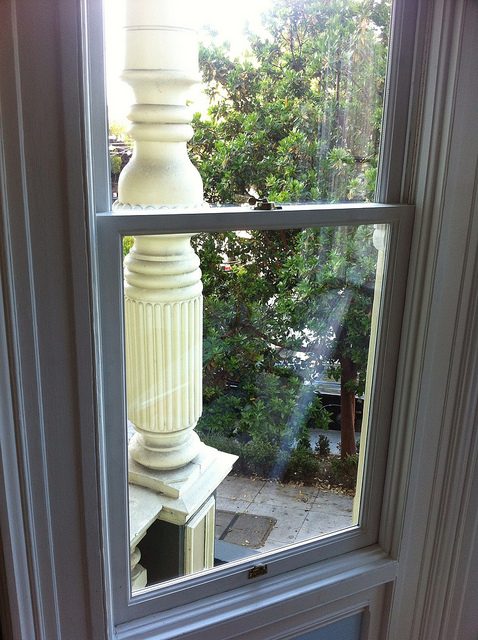
Below you can see a close up of one of the new windows. We attached our original hardware and you can barely tell the difference. The craftsmanship is superb and the room is already feeling less drafty. It is also protecting our beautiful damask wallpaper from fading.

New Double Hung Windows Installed

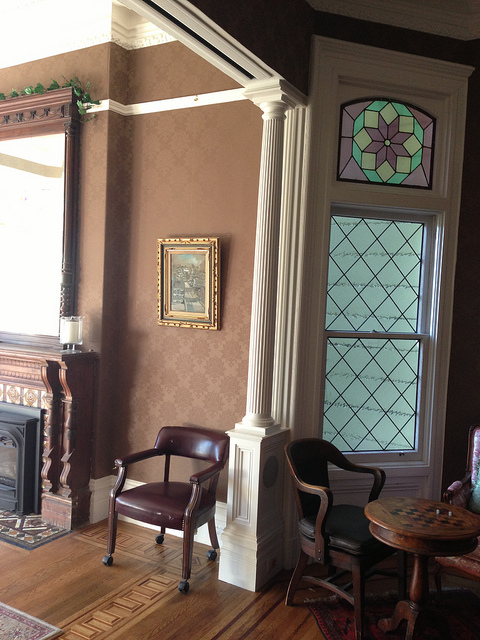
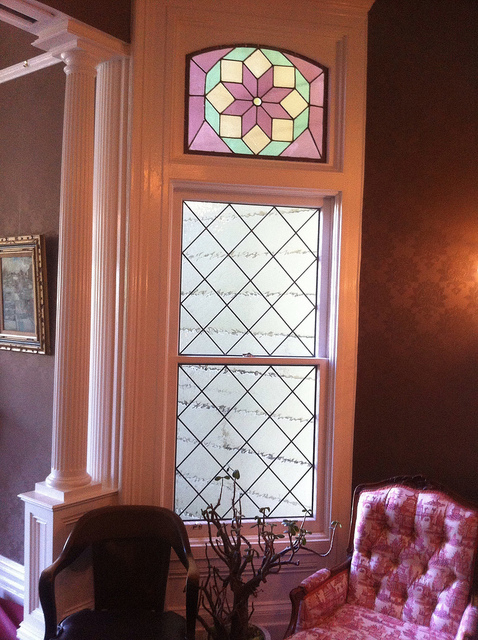
While we were having the windows replaced in the front parlor we also decided to have a leaded glass window made for the library. The view out the window looks down the tradesmen entrance so translucent glass was a perfect choice to mask the ugly view. The leaded glass also plays nicely on the original leaded stained glass above and helps to complete this part of the library.

Leaded Double Hung Window Replacement

All in all the project was as easy as picking up the phone and ordering. Unfortunately these windows don’t come cheap but its the price you have to pay to keep the house traditional.

Victorian Library Complete August 28, 2011 12 Comments

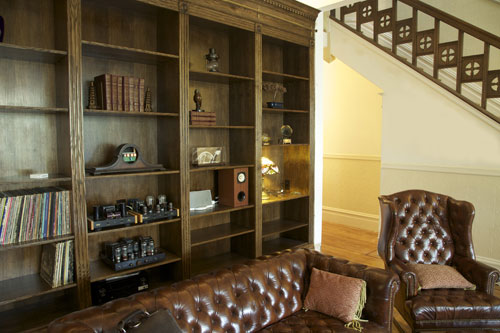
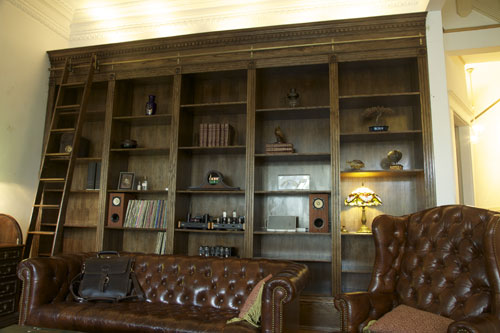
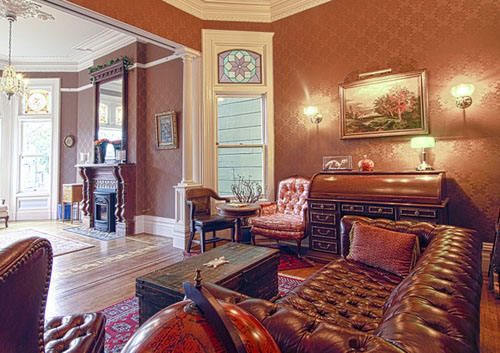
Victorian Library

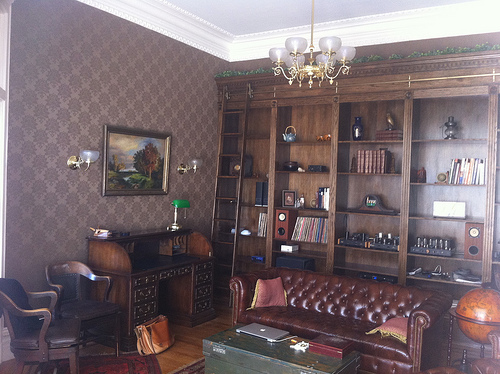
After nine straight days of work the library is finally complete. We haven’t yet found a chandelier or sourced the wallpaper but that didn’t stop us from inviting our friends over and celebrating. For the first time we could sit back and actually see and enjoy what we had built. It’s been an incredible project and I couldn’t be happier with the results. Thanks dad for showing me how to do it right.

As promised, I have enlisted the help of a real photographer to take some proper photos. Thanks Dean Putney for your help. Once the wallpaper and lighting is done I will add more pictures.

Victorian Library

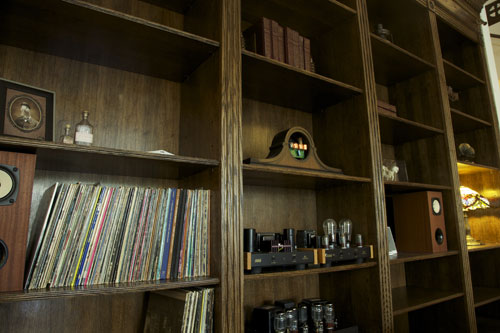
Victorian Library Shelves

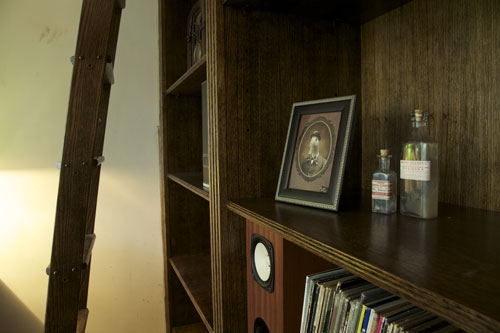
Victorian Library Nick Nacks

Update [9/21/2011]: Wallpaper, chandelier, and other finishing touches

After weeks of searching for wallpaper we finally settled on this beautiful fabric-on-paper chocolate damask from Dhongia. We hired Victorian wallpaper expert Marc Vallat as our hanger and he did a spectacular job. You can barely see the seams even up close. The chandelier and sconces we got from Victorian Lighting Works in Pennsylvania and they are stunning reproductions with matching French glass shades.

Victorian Library Wallpaper and Chandelier

To see the history of the entire project and the writeup checkout the victorian library build. You can also the photo history in the slideshow below. Once you click the play button, you can use your arrow keys to navigate through.

Victorian Library Build Day Seven August 26, 2011 1 Comment

Polyurethane on the library cabinets

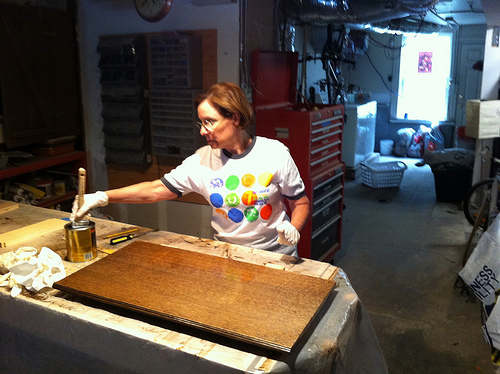
Now that everything is clean, stained, sealed, and sanded, we are putting on the final two coats of Polyurethane. This is a long and tedious process but we can finally see the end result. This is also a good time to call in some favors and get help from your friends. I even enlisted the help of my mother. Thanks mom!

Mom staining shelves

Today should be the last day of work on the project then we will clean up and take some proper pictures. For now, visit the Victorian Library photo set on Flickr.
Victorian Library Build Day Six August 24, 2011 1 Comment

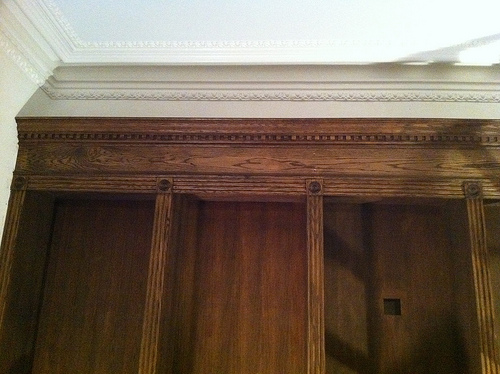
Victorian Library Oak Stained with Minwax Jacobean

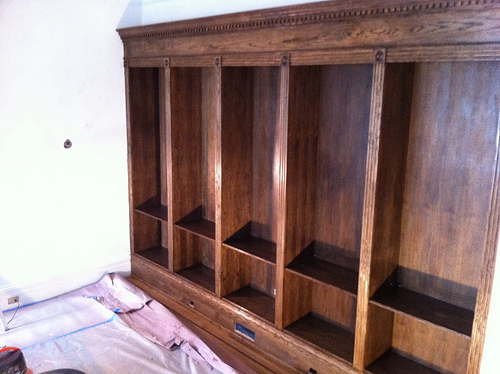
After five days of woodwork we finally stained the cabinetry today. We also stained all 32 shelves and put a coat of sealer on them. We are using Minwax Jacobean stain which looks like a dark walnut. It matches quite nicely to the oak banister we built last summer as well as the fireplace in the attached parlor.

I promise to take better pictures, not from my iPhone, when we’re done.
Cabinetry Stained

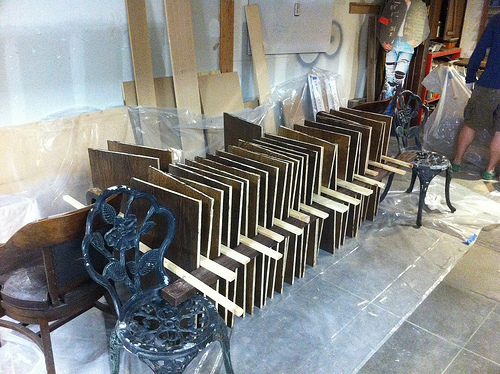
Below you can see a makeshift rack I built out of spare wood we had from the project. Considering how many shelves we have and how many steps we have, a rack will allow us to do them all at once and let them dry. Other techniques involve using eye hooks to hang them from the ceiling but this seemed easier.

Rack for shelves to dry

Victorian Library Build Day Five No Comments

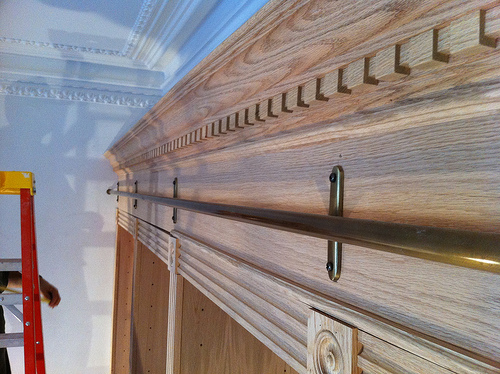
Library Ladder And Track

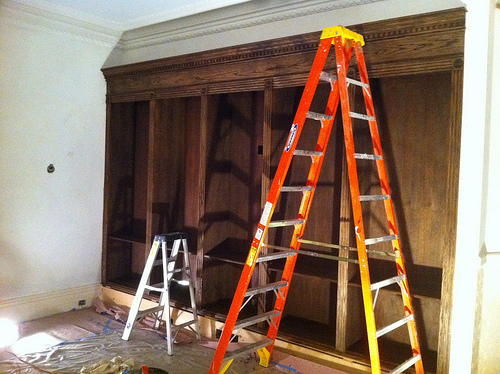
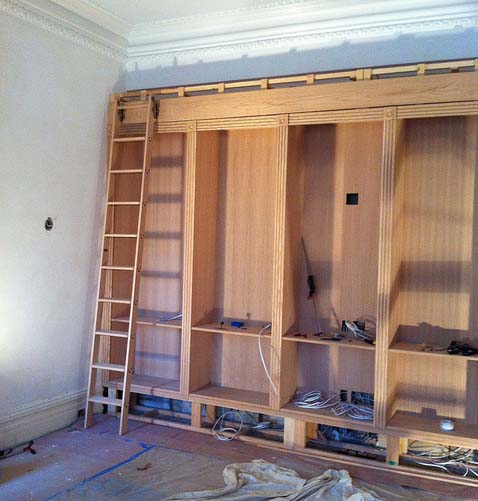
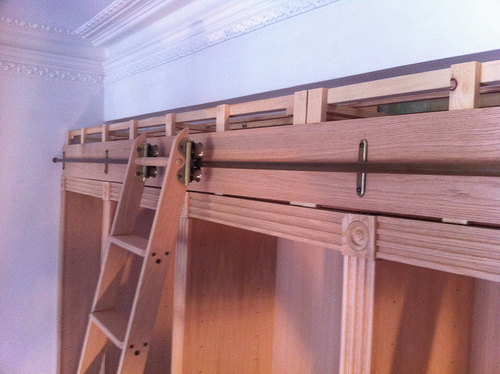
Our entire day was devoted to fitting the ladder, track, and head piece. This proved to be challenging due to the nature of an un-square house and un-level floor. First we had to build up a support structure to allow us to nail the head piece in. Then we had to assemble the ladder in order to find out if there was enough clearance for it to clear the head piece in its away position. Once we got everything just right we could screw the track to the cabinets.

Fitting Victorian Library Ladder to Cabinets

After that long day was over, we stained 32 shelves Minwax Jacobean brown until the wee hours of the night. Day six will be focused solely on staining the rest of the cabinets so stay tuned for finished more pictures. For now, visit the Victorian Library photo set on Flickr.
Victorian Library Build Day Four August 23, 2011 No Comments

Victorian Library Bookcase Faces

Today we tackled the finish work of completing the base molding, crown, and front faces. This is where all of your efforts will become apparently clear. What I mean is, all the effort you put into squaring everything up is thwarted by the fact that your 120 year old house is far from square. Not a problem however, everything lines up very well and moldings cover your slight imperfections.

Below you can see the ladder being fitted. We need to get this just right so that when the ladder folds up against the cabinets it won’t hit the head piece. I’ll explain more about the ladder setup and hardware when I have pictures.

Fitting Ladder Against The Library

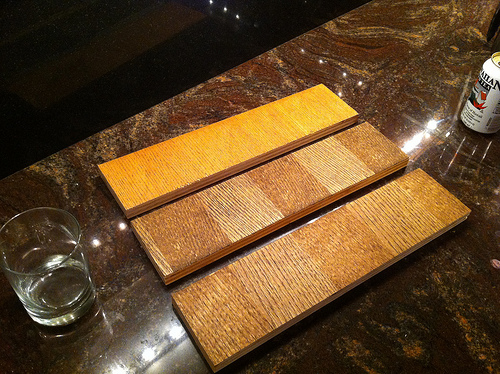
Below you can see some of the samples we picked out. I’m pretty sure we are going to go with the middle one, Jacobean from Minwax. It should go nicely will the dark banister we have and the wallpaper we are planning.

Oak Color Samples

For more photo’s visit the Victorian Library photo set on Flickr.
Victorian Library Build Day Three August 22, 2011 No Comments

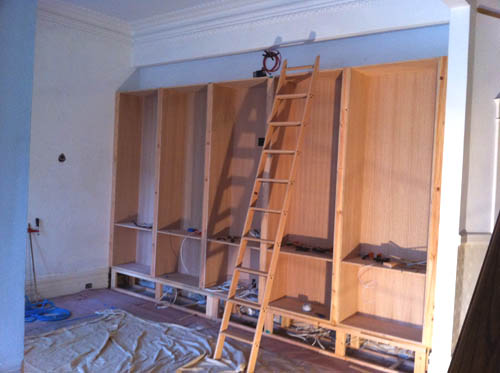
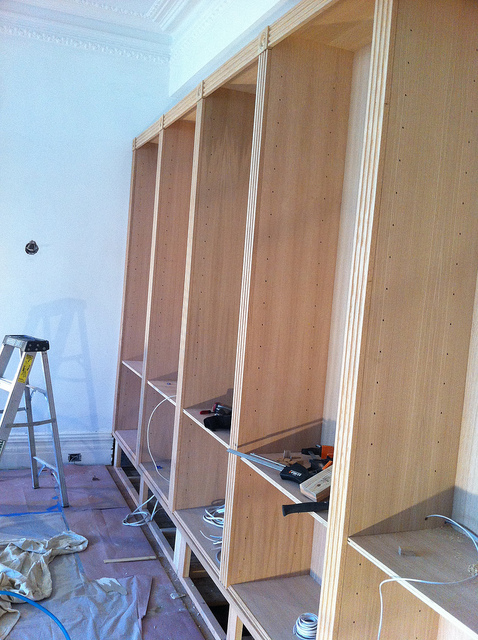
Library Bookcases Done

At the close of day three we have all the bookcases plum, level, and installed. Next up is all the finished trim for the face frames, base, and head piece. More photos to come as the day progresses but for now I need to get off the computer and back to work!

For more photo’s visit the Victorian Library photo set on Flickr.
Victorian Library Build Day Two August 20, 2011 1 Comment

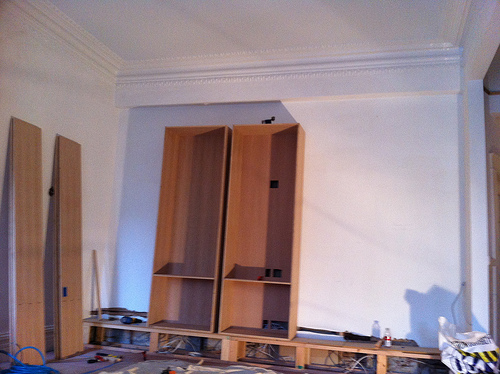
Two Bookcases Complete

As day two comes to a close we have made a great deal of progress. As you can see from the photo above we have two bookcases fully assembled. The rest of the pieces are waiting for assembly tomorrow morning.

We also finished all the electrical and home theater wiring. Now is the time to plan ahead and make sure you have everything you need because once this is all sealed up its very hard to access. Luckily for us, this isn’t the first time we’ve wired a theater. We leave ‘chases’ for ourselves so we can fish more wires in and out as technology changes. We also ran two CAT6 cables in, just as we do for each room we work on.

Home Theater Wiring

For more photos visit the Victorian Library photo set on Flickr.
Victorian Library Build Day One August 19, 2011 No Comments

Victorian library bookcase bases

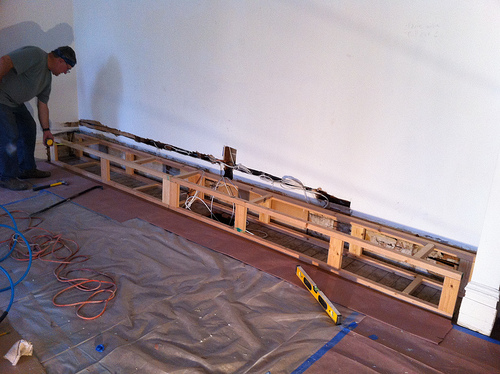
After a quick jaunt to SF Victoriana to pick up our milled parts we got to work this afternoon. We had to create a base to elevate the bookcases a foot off the floor. This will be covered by a nice oak baseboard that will have an HVAC vent as well as electrical outlets. The base is simply made from 2×4′s and a bunch of 2×4′s ripped in half. The top is simple 1/2″ MDF that we shimmed and leveled.

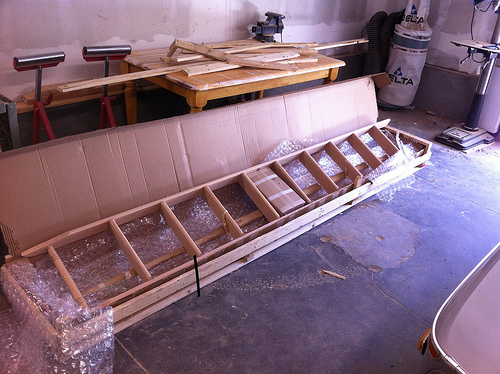
Below is a photo of the rolling ladder that we had shipped all the way from Putnam Ladders in Brooklyn, NY. They have been making ladders since 1905, 15 years after my house was built.

Victorian Rolling Ladder

For more photo’s visit the Victorian Library photo set on Flickr. Tomorrow we start the bookcases so stay tuned for more photos.