‘Design’ Archive

Work on the Parlor Begins June 9, 2010 1 Comment

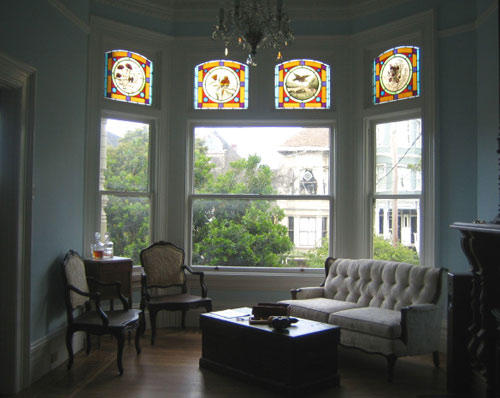
Traditional Victorian parlor

Seems like all we do around the house as of late is paint. Its incredible what 20 hours of work and two gallons of paint will do for a room. For this room we chose to Benjamin Moore’s “Light Blue” in satin for a formal victorian look. The blue really helps to bring out the colors of the original stained glass and makes the original glass chandelier pop.

Luckily this room was white before hand which made things easy except for the ceiling which needed to be primed. The moldings were also in great shape except for a few cracks here and there which we quickly fixed. We finished all the trim in Benjamin Moore’s “Atrium White” as we have for the rest of the house to match.

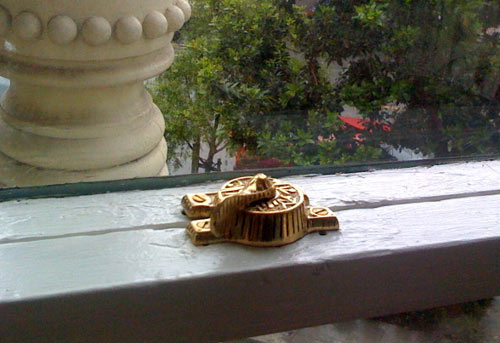
While we were in there we decided to upgrade the window hardware. Some of it was missing and some of it was broken. A quick online order through Restoration Hardware and we had period correct window matches that are almost identical to the original.

Here is the Flickr slideshow for the parlor set.
Splash of Color for the Master Bedroom April 19, 2010 1 Comment

Celadon Green Master Bedroom(click the image above to see more pictures)

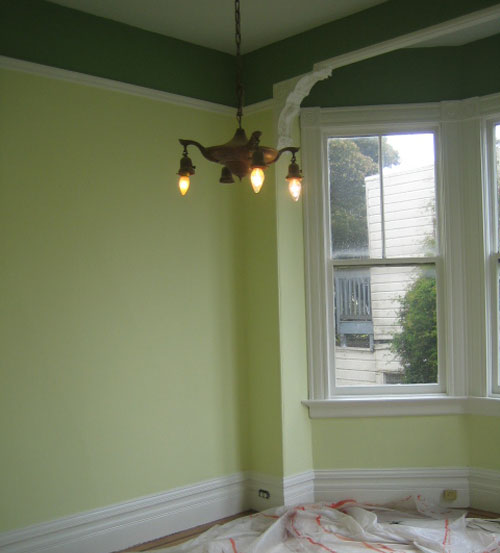
Ugly chandelier aside, I have finally gotten around to updating my master bedroom. We’ve been so focused on the living areas for entertaining I haven’t had any time to focus on my room. Although I don’t spend much time in there, the time I do spend inst that pleasant. The colors were drab and sure didn’t make waking up for work any easier.

After trying out a few different colors I finally settled on Benjamin Moore’s Celadon Green for the base and Garden Path for the top border, the same as the border in the living room. For the moldings we used Benjamin Moore’s Atrium White as we have in the rest of the house. After three days of solid work and a few gallons of paint later the room looks perfect. It is now light and airy and reminds me of key lime pie.

Great Vintage Painting Find March 10, 2009 No Comments

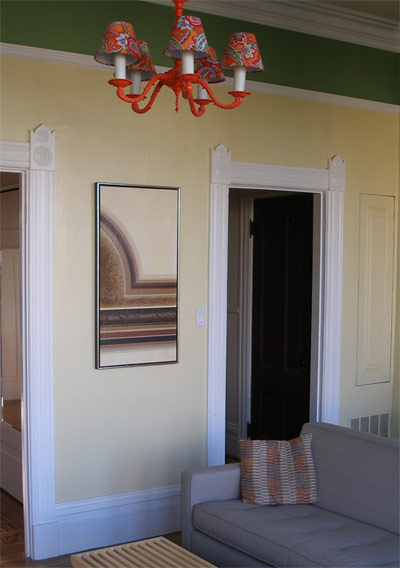
I found this great 70′s silk-screened type oil painting at The Other Shop down on Divisadero. I dont know what this room would be without this painting and I couldn’t be happier. Most things they sell are very pricey but some things like this piece were not. Even if you’re not out to buy its a great place to get ideas. Sometimes you can find similar things on eBay but other times its the little stores like this one that hide the greatest treasures.

Make Your Own Chandlier November 22, 2008 No Comments

This was posted on my personal blog here and later on Apartment Therapy here.

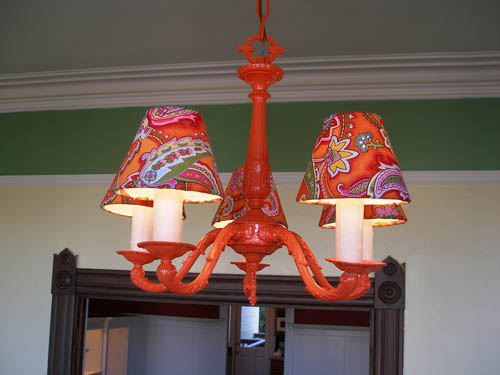
When my housemate and I moved into our new place we weren’t thrilled with the victorian-style knockoff chandelier that was in our living room. Our friend recommended we paint it and see if we still wanted to throw it out. So, I took the idea and ran with it. Needless to say, it’s definitely not getting thrown out any time soon. Here is a picture of the finished product.

DIY chandelier finished

This was a pretty simple project and started out with a beat up old chandelier. I took it down and cleaned it off as best I could with soap and water. Then I sprayed it with some white primer before hitting it with two coats of high gloss orange. That was the easy part and didnt take too long.

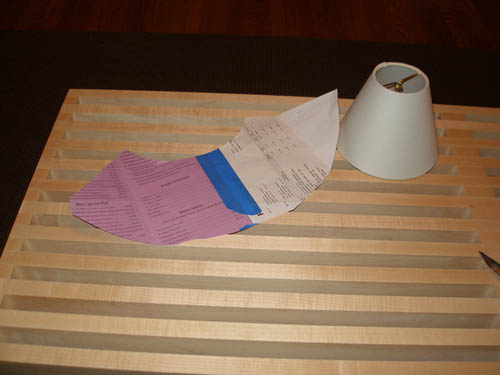
Next I had to track down some small lamp shade covers. I came across a nice set of 8 at lampsplus.com. First thing I did when I got them was template. This was crucial in cutting out 5 copies from the fabric. I simply wrapped a big enough piece of paper around the lamp shade and taped it. Then I trimmed up all the excess and unwrapped it. Voila template.

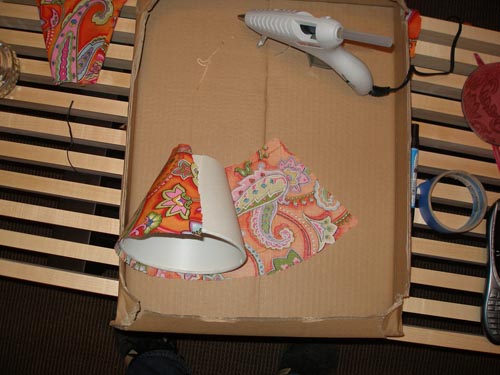
After all of the fabric was cut out it was time to warm up the glue gun. Make sure to try and line up the fabric seam with the seam thats already on the lamp shade. First I glued one side down where I wanted it, then I would take out all the slack and wrinkles and fold the over the other side. Dont worry about making this perfect. Once you fold over the top and button around the lamp shade rim you can deal with the rest of the slack.

Gluing the fabric on the DIY Chandelier

And thats it! There’s not much to it and it didnt take long. I was able to save an old chandelier from the dump and go something completely original in return. There are more pictures up on Flickr including one of the completed room.

Top Parlor Gets Color November 2, 2008 No Comments

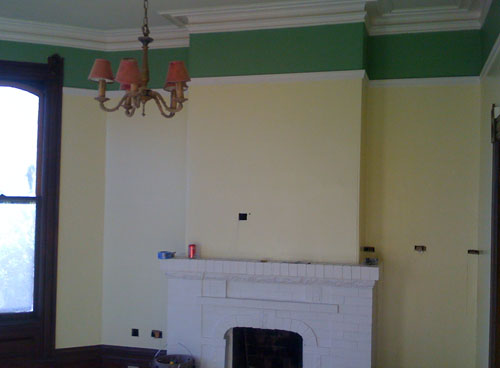
Although there is much more work to do on the top parlor, we have finally decided on color choices. I think it has turned out quite well, sans the brown molding. We chose Behr’s ‘Garden Path’ for the top portion and Benjamin Moore’s ‘Weston Flax’ for rest. A lot more updates are on the way including swatches, furniture, and painting the hideous brown colored molding. For now this will have to do. Oh yea, and don’t mind those holes either. That’s where we are wiring up our sound system and television.

To see all the pictures for this project click here.

Updating the Craftsman Dining Room October 28, 2008 1 Comment

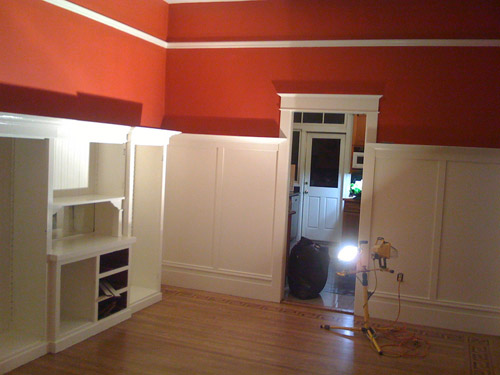
Craftsman dining room in a Victorian house

When we moved in, we immediately started figuring out our order operations; what was most important to us. It turned out to be a nice living area, a place to eat, and a kitchen. That being said, our kitchen was done, we had a temporary living room downstairs, so it was off to the dining room. My housemate loves to cook and I love to entertain so the dining room seemed to be a logical choice.

What a choice that turned out to be! At first glance, we thought we may keep the wood as is, just sand and refinish. Upon further inspection, the wood was cheap plywood and it had been glazed over numerous times. Even if we wanted to refinish it, that cheap plywood would still show through. So, we decided to paint.

After days and days of sanding and scraping off the old glaze it was finally time for a primer. We went with an oil based primer to bond with the oil based glaze that we had scuffed and sanded to create mechanical bond. That in itself was a daunting task. The stuff goes on thick but it was worth it. After a thick coat of primer applied a latex final coat of white. Well, three coats to be exact. We really wanted a deep rich white and that’s what it takes. Many many coats.

The same holds true for the wall color that we chose. It is Behr’s “Old Flame”. It came out beautifully but took numerous coats. If out anyone knows anything about painting red it can be a royal pain. If you’re going to embark on this journey, don’t lie to yourself. It will take a minimum of three coats end of story. Brace yourself. In our case, it took four! But as you can from the results, its totally worth it.

Photos of the dining room during reconstruction