Backyard Gets New Fences May 1, 2011 2
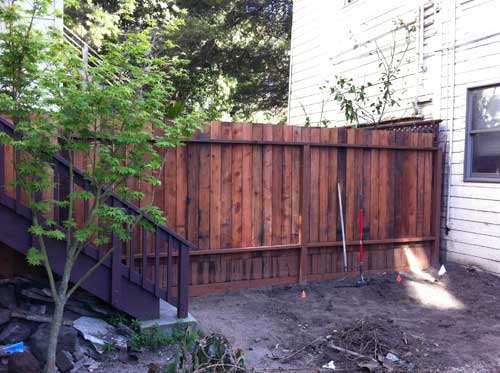
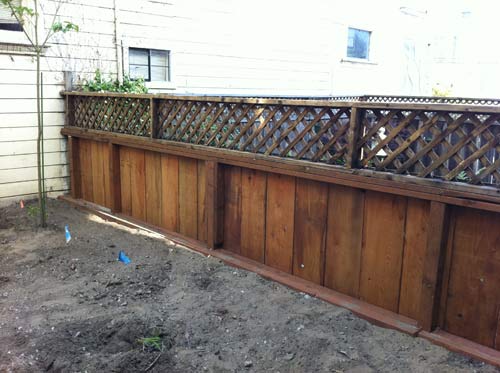
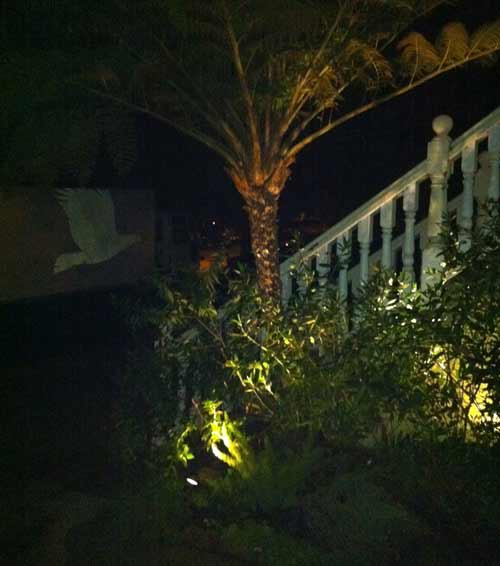
Although you are seeing the unfinished sides of the fences in the photos below, we’re moving ahead slowly on the backyard project. The old dilapidated fences have been removed and framed with new redwood. Once we get the masonry is done, we will be wrapping the fences in beautiful ipe wood.
More to come as the project continues. To see where the project began check out the rest of the backyard project blog.
Rear Siding Complete March 6, 2011 5
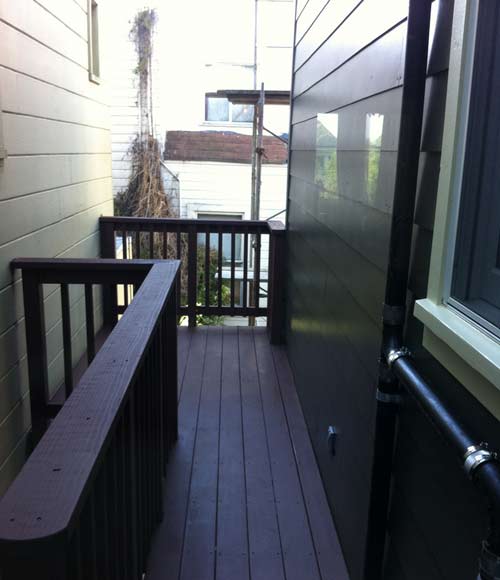
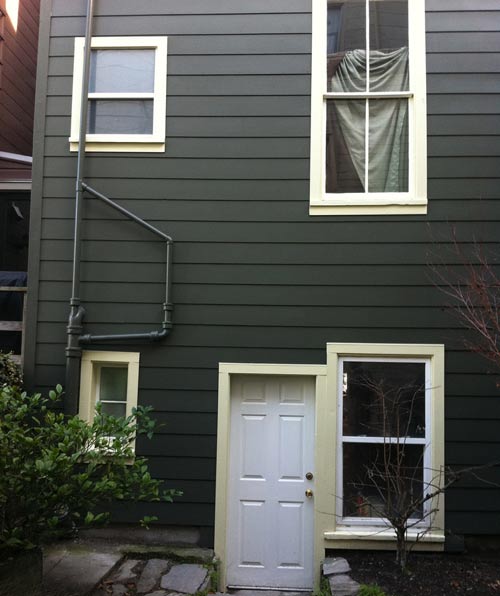
Well after 4 months, well over the allotted time for the job, the back of the house is complete. Everything is buttoned up, painted, and in working order. The entire back of the house was opened up, stuffed with insulation, covered with plywood, wrapped with a vapor barrier, and finally draped in concrete-fiber clapboards called Hardiplank. Hardiplank is cheap, easy to install, and lasts decades. Also, since its made from concrete it wont rot, warp, or be attacked by bugs.
In addition to the new siding, the master bedroom got 3 new double insulated Pella windows as did the kitchen and bathroom. The deck was also beefed up structurally and properly bolted to a new ledger that was absent before. How this deck stood up for so many years as it was is still a mystery to me.
All in all, its good to have this thing buttoned up on the western side as it takes the brunt of the weather. I wish I could say the insulation helped more than it does but we still have so many sides not insulated that it didnt make much of a difference; although the master bedroom does benefit from the new windows slightly.
Here is the Flikr photo set of the process:
Work Begins on the Backyard January 10, 2011 3
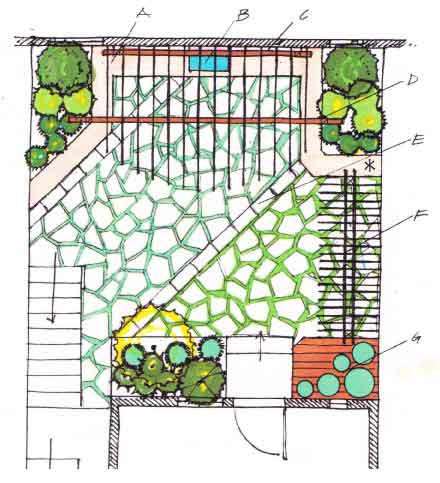
Above is a rendering we had drawn up by a local landscape architect. Fortunately, we decided to go in another direction given two factors. The first being an outrageous price for a simple design, and the second being, we can do better. Our design is going to be much more sleek and modern with more of a post-modern feel. We will contract out the hardscape work to an experienced mason but we are going to take care of the rest.
Since the back of the house has been undergoing renovations we have been slow in the past few months, but we’re hoping to pickup again here soon. Our contractor is just finishing up so hopefully the ground will warm up again here soon and we can get rolling.
For now, take a look at the work we started a few months back.
Front Yard Makeover December 16, 2010 0
Our front yard, if you can even call it that, is a 6 x 6 foot box to the left of our driveway that hasn’t seen too much love since we moved in. We’ve manicured it a bit in the past and installed some cheap outdoor lights that we had at our last place but thats about it. This past weekend we spent a little time and money revamping it a bit.
We started by getting new 12v outdoor lights by Portfolio. We bought them at Lowes, but theres no reason you cant get them anywhere else or order them online. We kept our old 120v AC to 12v DC converter and just bought two new lights. Then we dragged some of the unused plants from the backyard into the front including a fern and oregano. It turned out pretty nice for just a few hours work and $50 in lighting.
Renovating the Rear Siding October 15, 2010 2
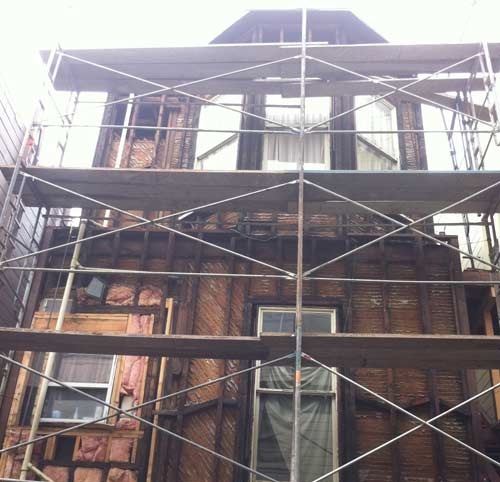
Construction began on our house over a month ago and is finally approaching the final stages. We had the entire back of the house opened up to replace all the siding, move the electrical and plumbing inside, fix a few of the beat up windows, as well as add insulation. The job was supposed to be much simpler but of course there is always an unexpected turn with an old house. Our contractor found dry rot as well as some very unsafe workmanship when the house was built which had to be replaced.
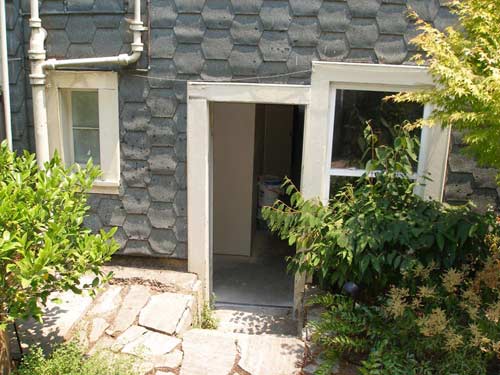
Below is a photo of what the back of the house used to look like. The previous owner probably decided to cover the thing in shingles rather than deal with the upkeep of the original clapboards.
More pictures to follow as the project continues. For now, check out the progress on flickr.
Recreating Moldings July 22, 2010 4
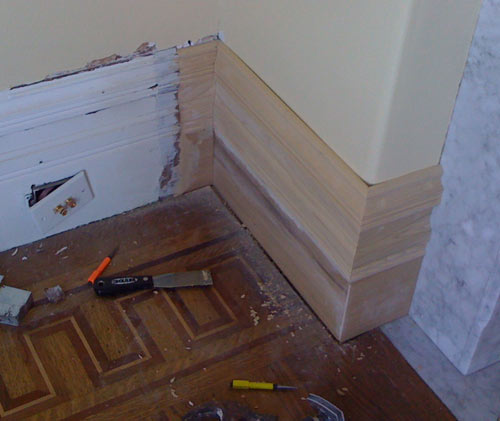
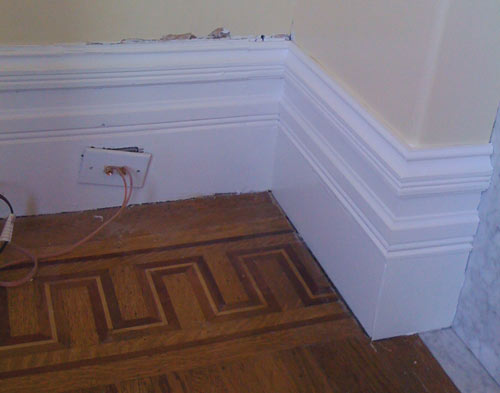
After the old fireplace was removed and the new one was put in we had to recreate moldings that were long gone. To do this, we called our friends at SF Victoriana to recreate the moldings from a scribe. This is also how we had the staircase recreated. This time however, we had the luxury of cutting some of the molding we already had so they could create it perfectly.
After a week or so they had our paint grade poplar moldings done. Unfortunately it had to be created in three separate pieces because it was so tall. No matter, the nail gun loaded with brad nails made it easy to attach to the wall after lots of mitering and test fitting. All in all it turned out great and this room is finally complete.
Work on the Parlor Begins June 9, 2010 1
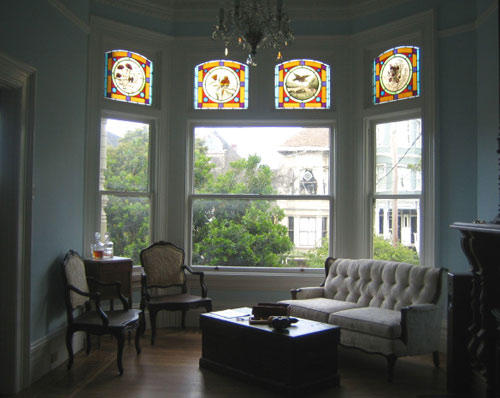
Seems like all we do around the house as of late is paint. Its incredible what 20 hours of work and two gallons of paint will do for a room. For this room we chose to Benjamin Moore’s “Light Blue” in satin for a formal victorian look. The blue really helps to bring out the colors of the original stained glass and makes the original glass chandelier pop.
Luckily this room was white before hand which made things easy except for the ceiling which needed to be primed. The moldings were also in great shape except for a few cracks here and there which we quickly fixed. We finished all the trim in Benjamin Moore’s “Atrium White” as we have for the rest of the house to match.
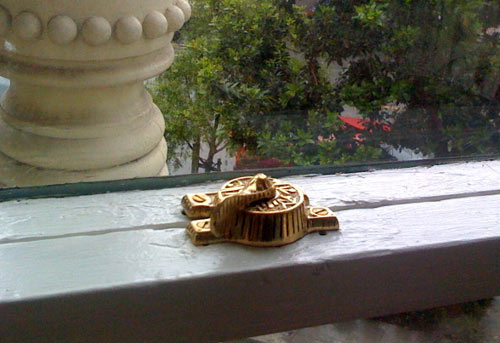
While we were in there we decided to upgrade the window hardware. Some of it was missing and some of it was broken. A quick online order through Restoration Hardware and we had period correct window matches that are almost identical to the original.
Here is the Flickr slideshow for the parlor set.
Splash of Color for the Master Bedroom April 19, 2010 1
 (click the image above to see more pictures)
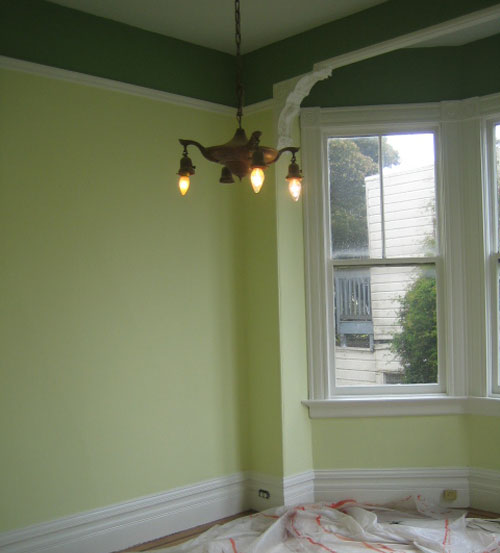
Ugly chandelier aside, I have finally gotten around to updating my master bedroom. We’ve been so focused on the living areas for entertaining I haven’t had any time to focus on my room. Although I don’t spend much time in there, the time I do spend inst that pleasant. The colors were drab and sure didn’t make waking up for work any easier.
After trying out a few different colors I finally settled on Benjamin Moore’s Celadon Green for the base and Garden Path for the top border, the same as the border in the living room. For the moldings we used Benjamin Moore’s Atrium White as we have in the rest of the house. After three days of solid work and a few gallons of paint later the room looks perfect. It is now light and airy and reminds me of key lime pie.
Accent Lighting for Artwork March 25, 2010 1
This was one of the simplest projects we have tackled and made a pretty dramatic impact on the room. The room is much brighter and has a whole new sense of completeness that it was lacking before. Great bang for the buck. Also, since we had already updated most the electrical in the ceiling this project was complete in less than an hour.
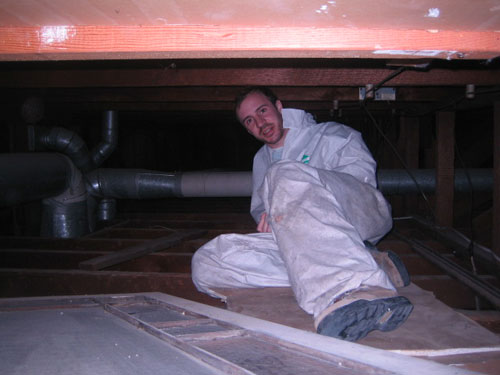
We started from inside the room and marked exactly where we wanted the lights to go. It helps to have a second set of hands to measure everything up perfect and square. Then after the positions were marked I put on the Tyvek suit and climbed up into the ceiling (thats what happens when you are the skinny one). From there Brian would use a RotoZip to cut out the holes and I would feed him the power. Then the lights are fed up from inside the room and snapped into place. Its that easy!
Replacing an Old Chandelier January 21, 2010 0
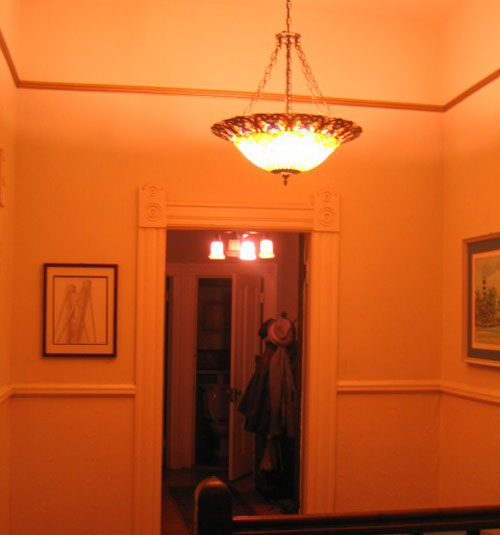
Although the chandelier we replaced may be more original, as in old and added in the early 20th century, this period Tiffany chandelier also fits the style of the house and is more appropriate for the living of today. We picked this one up for a few hundred dollars from Lamps Plus. It gives off a much yellower light, even with CFLs, and hangs high and in the center of the room with a medallion that we added. Hopefully someone on eBay will find use for it. You can see more pictures of the old one and the new one here.
This, like any other project involving wiring in an old house, requires taking power from a modern circuit to alleviate the stress on the old knob and tube. Luckily, I am no stranger to climbing in the crawl space and already have pulled a new circuit. All of that went fairly easily as usual. Hanging the chandelier took a little longer however. This is the first time we have hung one where one didnt exist before, from installing the box in the ceiling with wiring, putting in a ceiling medallion, and hanging it.
All in all, its an easy project and following directions helps as always. We ran into trouble because we added a ceiling medallion that made the threaded rod that came with the chandelier too short. Luckily, when we pulled the old chandelier off the ceiling we found one that fit our needs. Even so we still tackled it in a few hours.
For pictures check out flickr.
